Static Shock ⌁ Creating a Static Site with Jekyll (Part 1)
Sometimes using static site generators can be a painful and annoying experience. In today's tutorial we take you through setting up a new static site and getting up and running with as minimal fuss as possible!

Today we're going to be learning how to create and configure a static site using Jekyll. Our demo will go a bit further than the quick start articles, getting a working site with a bit of content up and running. Our process today will be:
- Install pre-requisites.
- Scaffold our project.
- Update the theme and configuration.
- Update our content.
- Test our site.
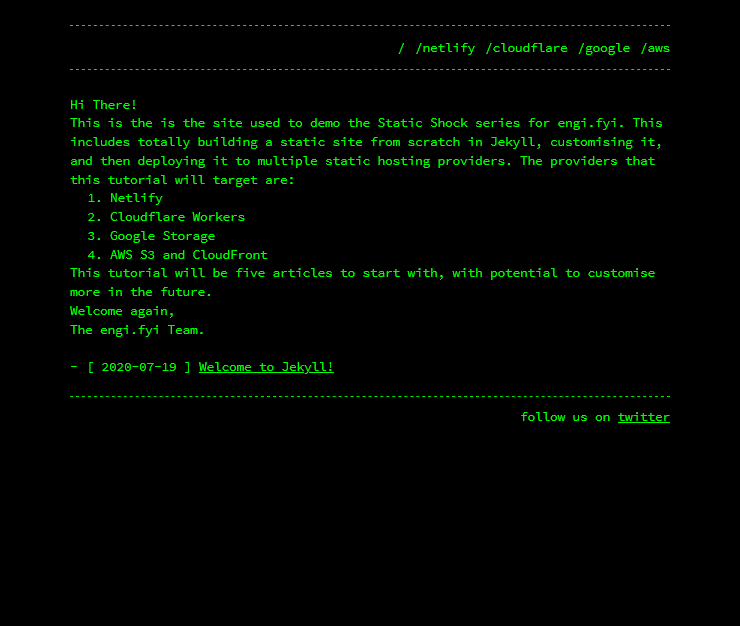
I've been working with Jekyll a few weeks now and wanted to create something a little outlandish. Even though we're going to have boring filler content on our demo website, it's going to be using the cool jekyll-theme-console which will make it look like a green-screen terminal. If you would like to follow the tutorial with the finished product, please see the demo repository on GitHub.
Installing pre-requisites
All of the following commands are taken straight from the Jekyll website, as they've got good - albeit very spread about - instructions.
Installing Ruby
The following are a mixture of steps you need to follow or commands you need to run on your local operating system. Once you've finished installation, you will need to open a new terminal session so that the executables work correctly.
macOS
xcode-select --install
/usr/bin/ruby -e "$(curl -fsSL https://raw.githubusercontent.com/Homebrew/install/master/install)"
brew install ruby
echo 'export PATH="/usr/local/opt/ruby/bin:$PATH"' >> ~/.bash_profile
Windows
Go to Ruby Installer and download the latest executable. Install it as per the defaults, open a command prompt, and run ridk install.
Linux
Choose the appropriate set of commands for your distribution and execute the commands.
# Ubuntu
sudo apt-get install ruby-full build-essential zlib1g-dev
echo '# Install Ruby Gems to ~/gems' >> ~/.bashrc
echo 'export GEM_HOME="$HOME/gems"' >> ~/.bashrc
echo 'export PATH="$HOME/gems/bin:$PATH"' >> ~/.bashrc
source ~/.bashrc

# Fedora
sudo dnf install ruby ruby-devel @development-tools

# Debian
sudo apt-get install ruby-full build-essential
Installing Jekyll
Jekyll is a ruby gem and only requires one more step to get it installed on your system. We also use bundler as it will manage our project's dependencies.
gem install jekyll bundler
Scaffold our Project
The scaffolding process will generate our project directory and install the initial set of ruby gems required for our project to work. Once this step is complete, we will run our site to make sure that it is working as expected.
jekyll new static-shock
cd static-shock
bundle exec jekyll serve
If you were successful, browse to https://localhost:4000, and you will see a blank Jekyll page with scaffolded content. The default theme will be installed, along with the posts page, and an example post.
Update our Theme and Configuration
Updating the project scaffold so that it has content that we want is relatively straight forward. We will install the theme, configure our project with the correct properties, and finally add and remove content. In Jekyll, there are generally two ways to install themes: the first is via cloning the theme demo repositories, and the second is via installing the ruby gem and configuring it manually. I generally prefer the latter method because it makes your project a bit cleaner and doesn't add unnecessary files.
Installing the Theme
Open up the Gemfile and add the following lines:
gem "jekyll-theme-console"
Then we're going to install our theme by running bundler.
bundle install
That is it! We have our theme installed and available for us to configure.
Configuring our Project
The configuration step is probably the most difficult, as it requires a lot of smaller changes to variables. I will list all the changes here, and you can go check out the reference config file in the GitHub repository if you have too many issues. All of these changes will be in the _config.yml file.
- Update
titleto be the name of your site. - Delete the
emailfield. - Update the
descriptionto be relevant for your website. baseurlshould be an empty string.- Update the value of
themeto bejekyll-theme-console. - Add
stylewith a value ofhacker. - Add
footerwith an HTML footer of your choosing (simple text and link). - Add
header_pageswith the following values:index.markdownnetlify.markdowncloudflare.markdowngoogle.markdownaws.markdown
There is no further configuration required for the project, and all of the rest of the changes will be in the front-matter or content.
Updating our Content
All content in Jekyll is Markdown, which is a simple mark-up language that allows you to quickly and easily create content. You can also embed HTML, if you need more flexibility in your design. You are entirely free to add pages, update pages, and remove them as you prefer. For this demo, I will list out all of the changes that I have made to the content:
- Deleted
about.markdown. - Added
titlewith the value/toindex.markdown. - Added content to
index.markdown. - Added four pages
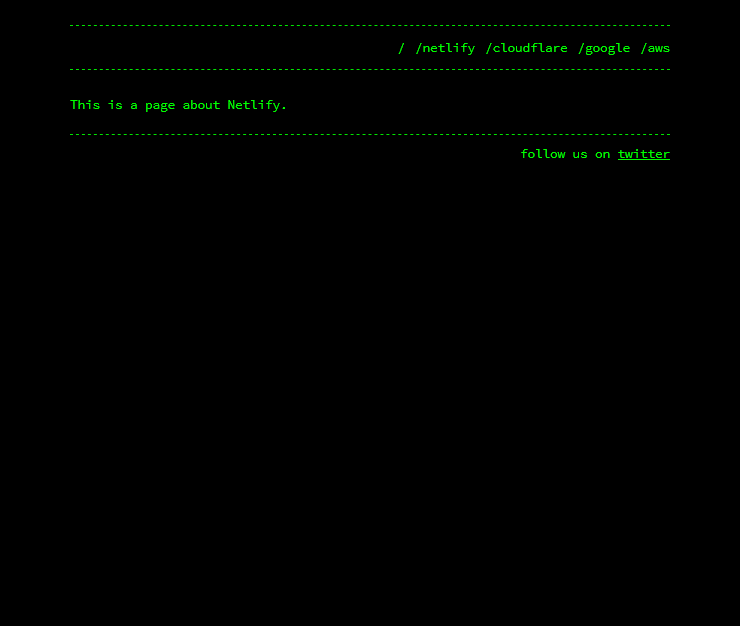
netlify.markdown,cloudflare.markdown,google.markdown,aws.markdownwith some filler content.
Once you've made all your changes, it's time to move on to the best part: testing it out and seeing your new website in action!
Testing the Site
We already did this way back when we scaffolded our site, but now we need to make sure everything fits together. To view our changes locally, use bundler:
bundle exec jekyll serve
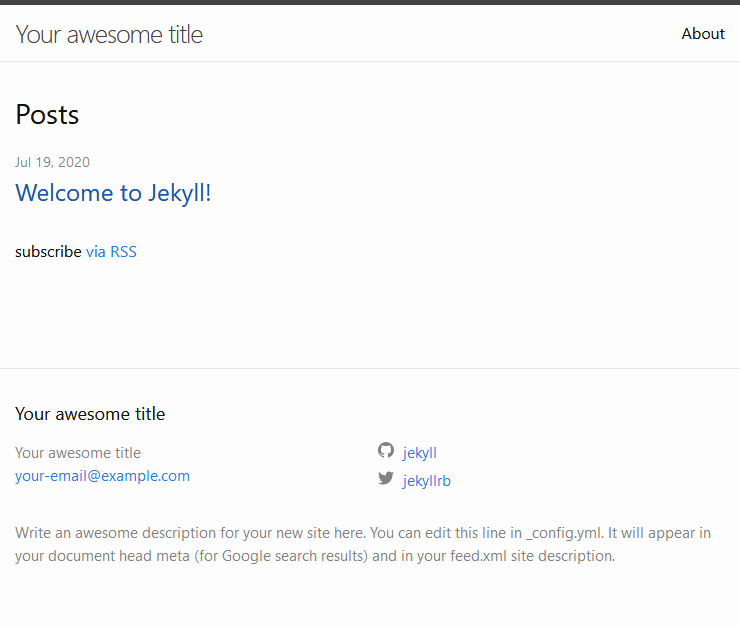
Browse to https://localhost:4000, and you will see your website with all the customisations you applied in the previous steps. I've included screenshots of my own below.
Wrapping Up
While that was a little slower than the usual quick start, it covered off all of the essential things required to build a functional website using Jekyll. Now that we have a base to deploy to our static hosting vendors, we can focus on those deployment processes in the next tutorials. If you have any questions or problems, or you’d like to offer some suggestions for future content, please contact me on Twitter @stophammotime.