Let's Embark! Setting up Kubernetes (Part 1)
I just went through the process of setting up my Kubernetes Cluster, and it was pretty easy the third time around! So, I thought I'd put up a series of tutorials that focus on getting a Kubernetes Cluster up and running with Ingress, Certificates, and a basic Service.

Setting up your Account
First thing is first. Head over to Digital Ocean using my referral code. I run my personal clusters on Digital Ocean and they are the cheapest and also one of the most featureful Hosted Kubernetes providers.
On top of this, they also provide an excellent cluster base using the best-in-class Kubernetes networking solution Cilium. They also provide a hosted dashboard that you can access via a link on the Digital Ocean Control Panel, and doesn't need to be installed on your cluster itself (unlike other providers, I'm looking at you AWS).
If you don't want to test this on a real cluster, feel free to install Docker Desktop and enable the Kubernetes feature which comes with a local cluster.
Setting up your Cluster
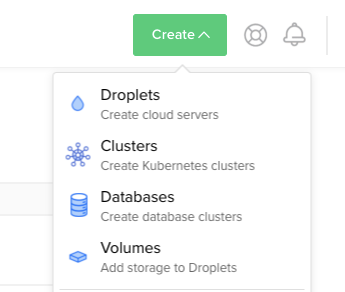
Once you're logged in and ready to go, open the Kubernetes Control Panel. On the top-right corner of the screen, click the Create button. Select Clusters: Create Kubernetes Clusters.
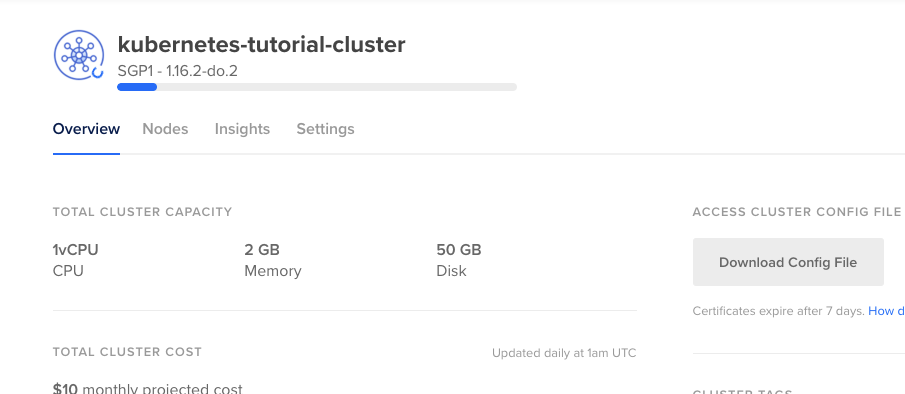
Select your Region (I like to go to Singapore, as I'm in Australia), name your Node Pool, select Standard Nodes (2GB Memory / 1 vCPU), with 1 node. There is no need for any more nodes at the moment, but when we get to setting up Nginx we will scale up this to demonstrate Daemon Sets.
The cost for your cluster should be below, at $10 a month. That means the credit you got from my referral link should last 10 months! Yay! Name and tag (optional) your cluster, then click Create Cluster.
Accessing our Cluster
While we're waiting for the cluster to provision, let's get our CLI access up. Click Download Config File. After this is downloaded, fire up a terminal and install kubectl. This can be done with either Chocolatey (kubernetes-cli) on Windows or Homebrew on macOS (kubectl). Once this is installed, move your config file to ~/.kube/config.
Once you're configured, run kubectl get pods -n kube-system. If you've suceessfully installed kubectl and the put the configuration file in the right place, it should list a bunch of pods including kube-proxy, cilium, do-node-agent, and kube-state-metrics.
adam.hammond@adam-laptop k8s-config % kubectl get pods -n kube-system
NAME                                    READY   STATUS    RESTARTS  AGE
cilium-7vd9t                            1/1     Running   0         5m
cilium-operator-d5cd7d758-stsqw         1/1     Running   0         5m
coredns-84c79f5fb4-m9snd                1/1     Running   0         5m
csi-do-node-zc5w8                       2/2     Running   0         5m
do-node-agent-mhc88                     1/1     Running   0         5m
kube-proxy-4nm5b                        1/1     Running   0         5m
kube-state-metrics-7fd44b48b5-jgmz4     1/1     Running   0         5m
kubelet-rubber-stamp-7f966c6779-ztb5s   1/1     Running   0         5m
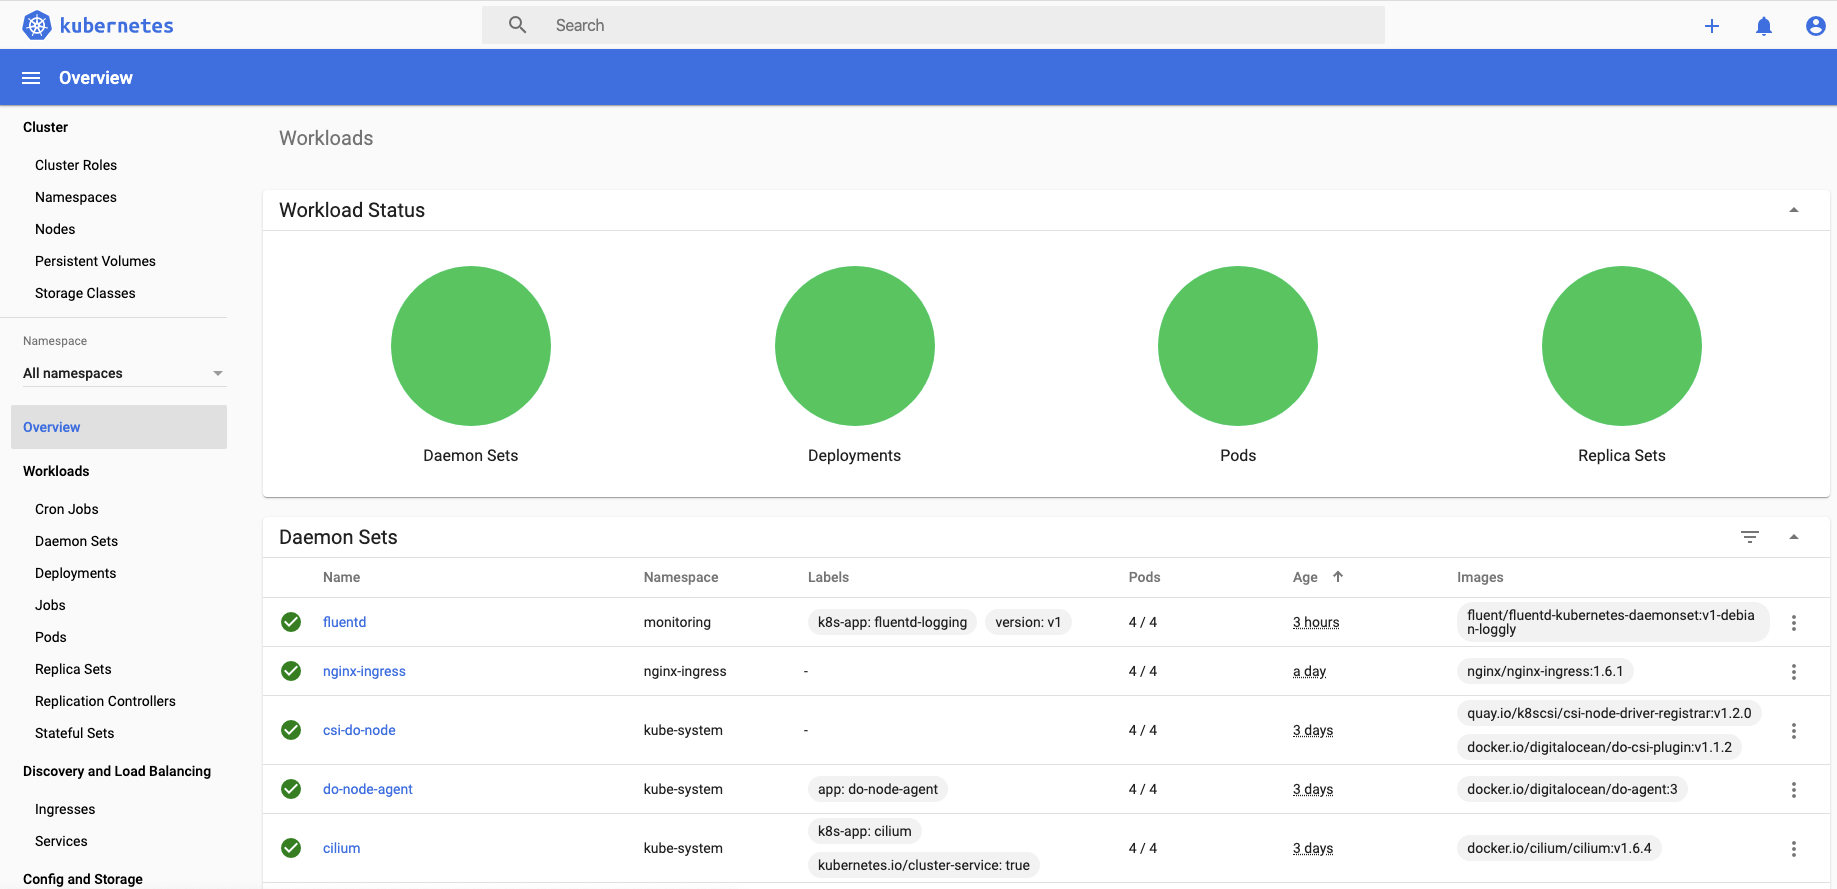
Once your cluster is ready, a little green light will show on the Kubernetes Dashboard and the Kubernetes Dashboard button should be available. Click it.

If your cluster is up-and-running, you should see three green circles and a bunch of green Daemon Sets. Congratulations, you're up and running with a Kubernetes Cluster. It's that easy.
Next Time
Now that we've got a cluster up and running, we'll be getting into setting up our Ingress Controllers with plain ol' HTTP so we can access workloads! For more information on the series, please visit the Let's Embark! page.