Security-as-a-Service: Securing your Website with Cloudflare
This is going to sound nerdy. But the three things I love the most in IT are Caching, TLS, and, Load Speed. There's just something about a secure and responsive website that really gets me going. So, today we're going to go through configuring a website so it is the embodiment of those things.

let me walk you through configuring a domain with Cloudflare, setting up the Cloudflare certificates on the web server, and testing to make sure our service is truly secure. Before beginning, go Setup an Account with Cloudflare (make sure to enable 2fa) and a Digital Ocean account (use my referral link) for some free credits).
Creating our Web Server
To start with, we need to connect to something; for this, we'll be spinning up a simple Ghost Blog from the Digital Ocean Marketplace. Head over there and hit the "Create Droplet" button.
For our configuration settings, let's select the $5/month option (we want to really test the speed of this bad boy out). Check all the other options as you'd prefer and click "Create Droplet".

Once the machine is ready, log in using the console. The automatic install process will run and setup Ghost. A prompt will show, and bring up details about your IP address and DNS records. Let's jump over to Cloudflare and setup our domain now that we have these details.

Setting up Cloudflare
Log into the Cloudflare Dashboard. Click on "Add Site" and follow the informative prompts (select the "Free" plan when prompted). When the DNS record screen comes up, set your "@" and "www" to the IP address that the Droplet gave you. Make sure "Proxy Status" is disabled (click on the cloud icon to toggle).

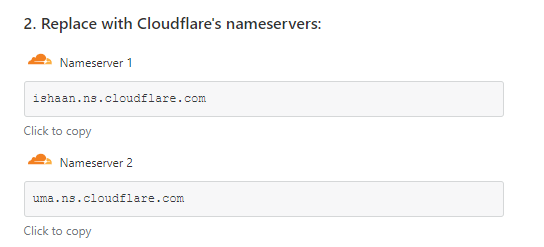
For now, we're not going to migrate our domain to Cloudflare, so let's click "Default method" under transfer options. Jump into your Domain Name registrar and update your name servers to the ones given by Cloudflare.
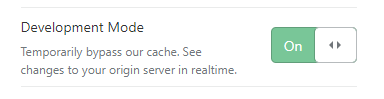
Under the TLS Settings, check "Off (not secure)", toggle "Always Use HTTPS" to "Off", and select all content types to for minification. Click "Done" to finalise the configuration. Our TLS settings are off so we can setup SSL on the client locally. Once the DNS has updated, toggle "Development Mode" to "On".
Completing our Ghost Setup
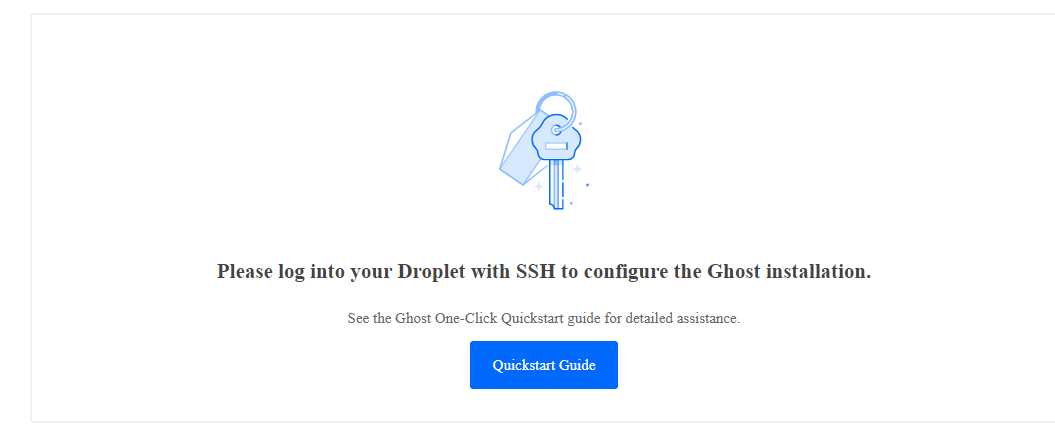
To make sure our Cloudflare setup is configured correctly, let's go to your websites URL on http to make sure that it's up and running. You will see the DigitalOcean Quickstart page if everything is setup properly.
Pop back to our console, and press "Enter" to complete our Ghost install. You will need to enter your blog's URL and your email address to setup your Let's Encrypt certificate to secure the traffic between the instance and Cloudflare. Once the installation is complete, restart the server. Navigate to your blog's URL and if everything has been successful, the admin panel should be available at https://blog.domain/ghost. If you get a redirect error, it will be caused by cached configuration in your browser; try opening up the URL in a private browsing tab. That's it, our Ghost Setup is complete! Let's jump back to the Cloudflare console.
Flaring our Clouds
So now we just need to finalise our Cloudflare configuration. Let's start by toggling "Development Mode" to "Off" on the main page. Go to DNS settings, and enable the Proxy by clicking on the cloud icon.

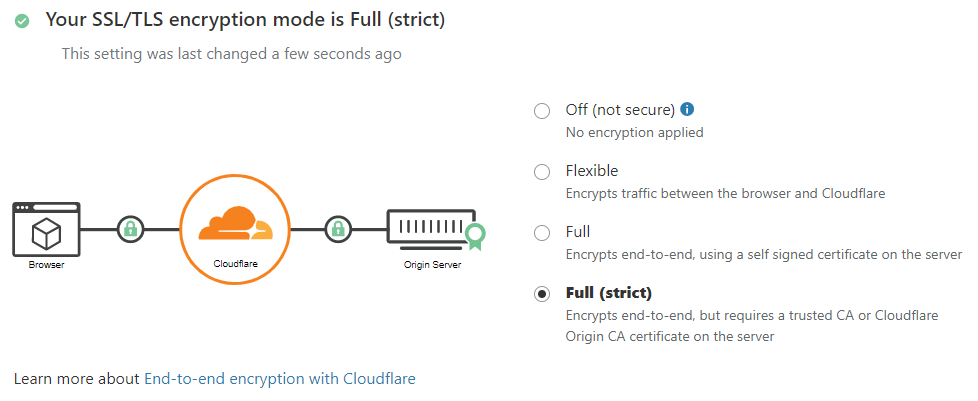
On the TLS settings page, set TLS encryption mode to "Full (strict)". This ensures that all our requests are fully encrypted while in transit.
Finally, let's create some Page Rules. Click "Create Page Rule". Use the following settings:
- URL matches:
<blog_url>/ghost/* - Setting:
Cache Level=Cache Everything
Make sure the "Cache Everything" rule is set to position 2.

Finally!
That's it, we've made it. You set up a blog using ghost, secured the instance using TLS via Let's Encrypt, and setup Cloudflare to speed up content delivery and added end-to-end TLS using Cloudflare. Caching has been setup correctly so that the admin portal is not cached, and you can take advantage of Cloudflare's many features.